
The purpose of a mockup is to allow and provide specific demonstrations for clients and consumers. With this tool, objects can be simulated, so any changes or adjustments can be made to the final piece. Digital models can be created on different platforms (like Photoshop), and can even be created on websites that offer various tools for free.
The use of mockups is very broad, but as mentioned above, it's mainly focused on product presentation. This is a way of showing the client a prototype of the final result.
Another example is a life-size mockup, which gives a sense of the environmental conditions and even takes into account the climate aspects of the represented location.
In addition, to make the model more realistic, materials that match the final result can also be used.
With so many benefits, it's impossible to imagine meeting the strong needs of clients and consumers without these tools. Now that you truly understand what a mockup is, start looking for the platform you think is best suited to invest in this tool, so your communication strategy becomes more effective, intuitive, and tangible.
Creating prototypes is usually a complex process, and some prototypes can take almost a month to complete. It's generally impossible to understand the full process and steps just by looking at finished mockups.
Digital models can be created in 2 ways: using photos or 3D software.
5 Main Steps in Producing a Mockup:
Since it's the method we use the most, below we'll cover the 5 main steps in producing a mockup with 3D software:
1 - Modeling
Each type of mockup requires a different modeling software.
Clothing mockups are usually made with software like Marvelous Designer and Clo3D.
These programs simulate how a fabric will behave based on the surface it touches, taking into account real-life elements: gravity, wind, fabric thickness, elasticity, and collision.
Object mockups are usually made with polygonal modeling software,
where every detail of the object is created manually -
as shown in the example of the can below, along with every detail of the can (ring, opening, and edges).
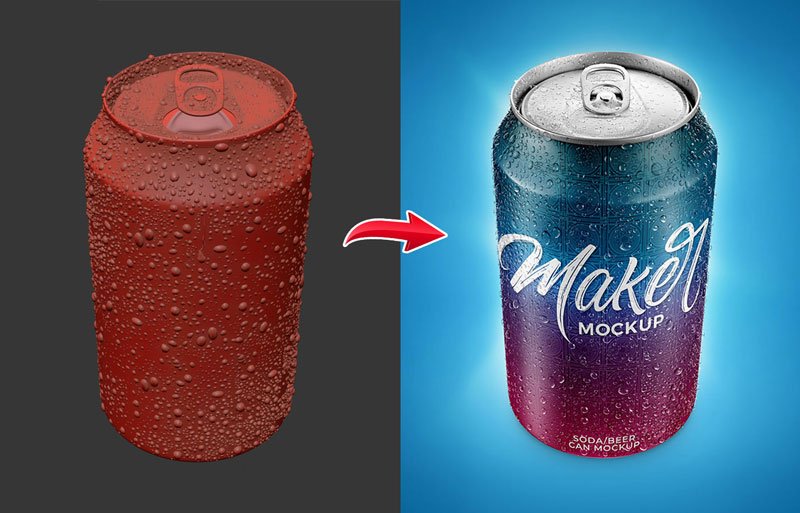
Countless individual drops were modeled to cover the entire surface of the can, making it as realistic as possible.
2- Texturing
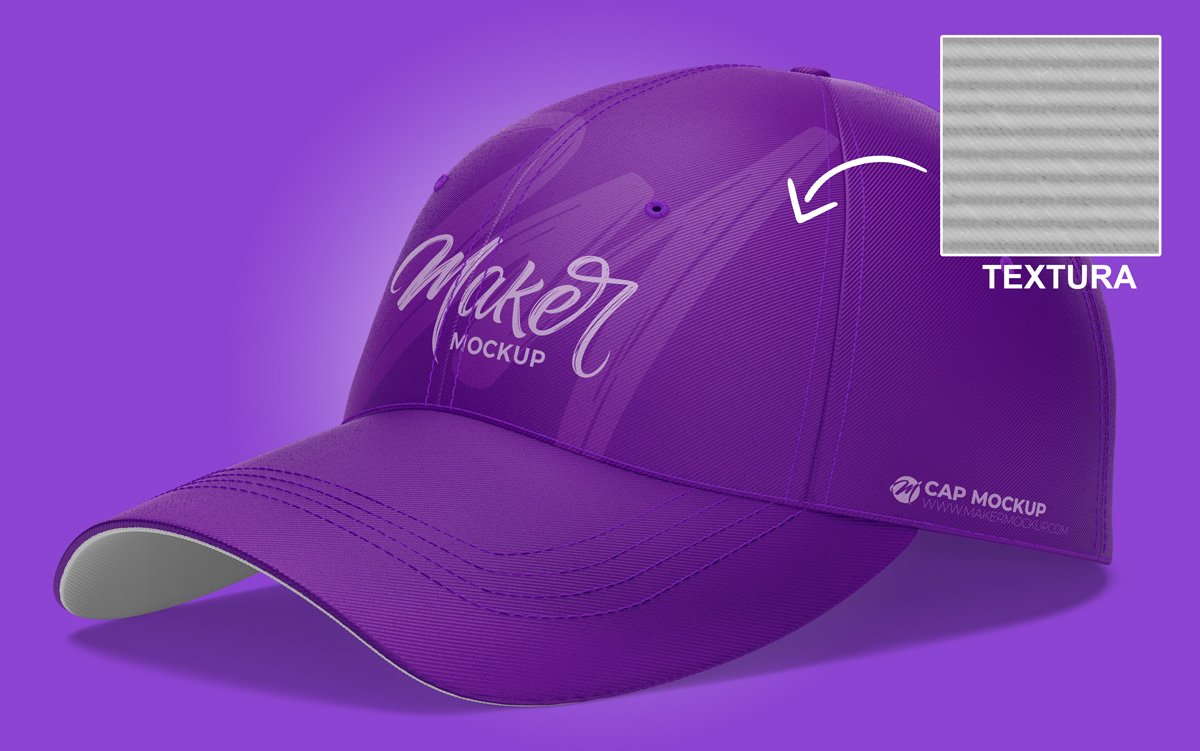
Here, each part of the 3D object gets its material and texture applied separately. Examples of the most commonly used materials in mockups:
Glass, paper, fabric, and plastic.
Always trying to get as close as possible to the real-life characteristics of the product.
3- Lighting
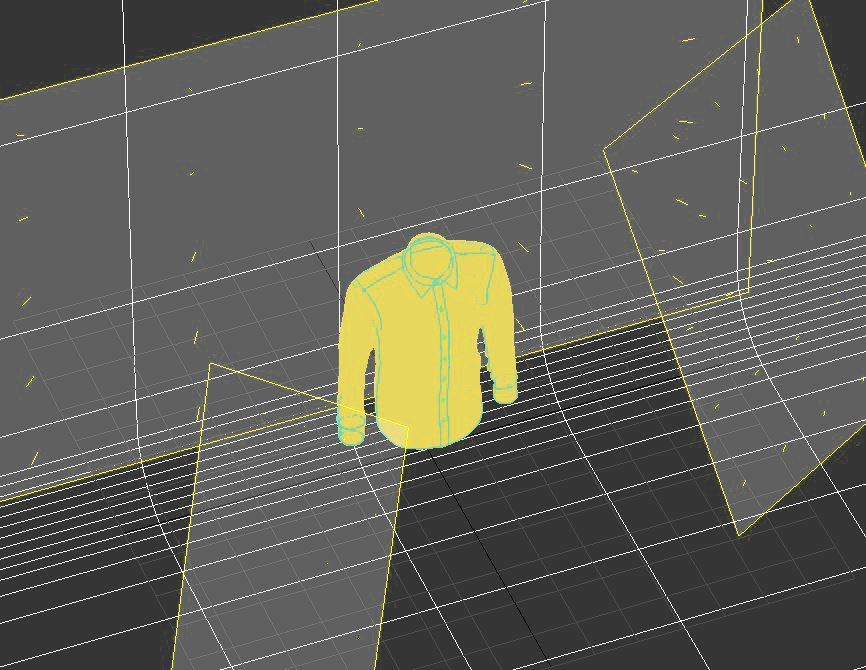
Testing several light positions to achieve the best possible lighting (one that highlights all the product's characteristics).
This step is often very time-consuming, since achieving an excellent result requires countless tests.
4 - Rendering
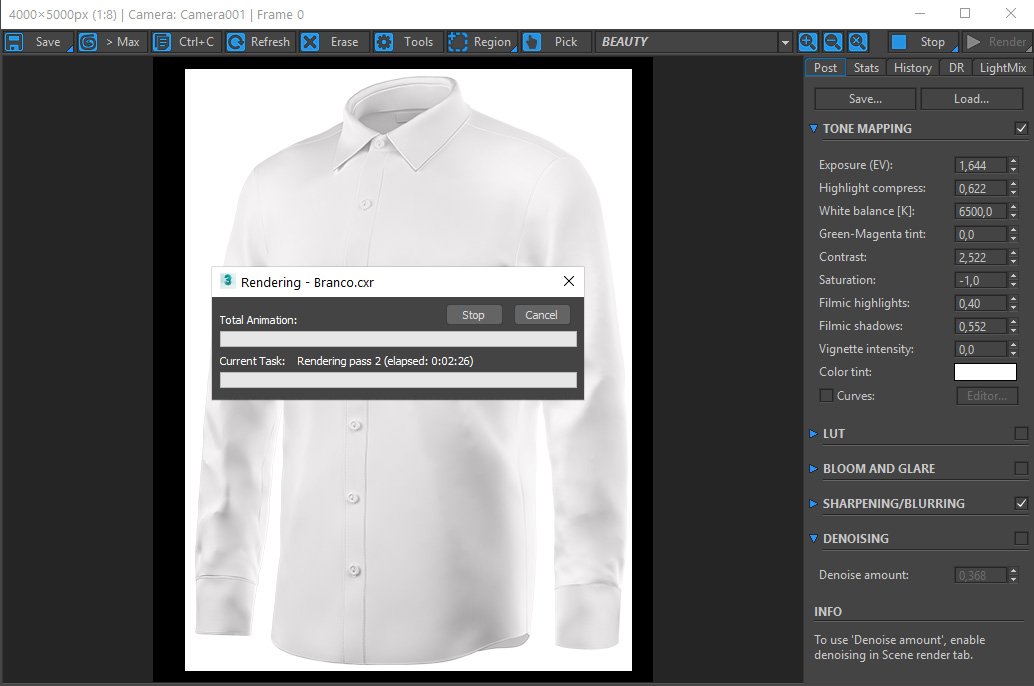
Once the 3D scene is ready, it needs to be rendered (the calculation the computer performs to generate an image from the software's objects).
The computer will often need many hours to render a product.
All mockups are made in high resolution, with countless details and different materials -
all of which increases rendering time.
5- Post-production
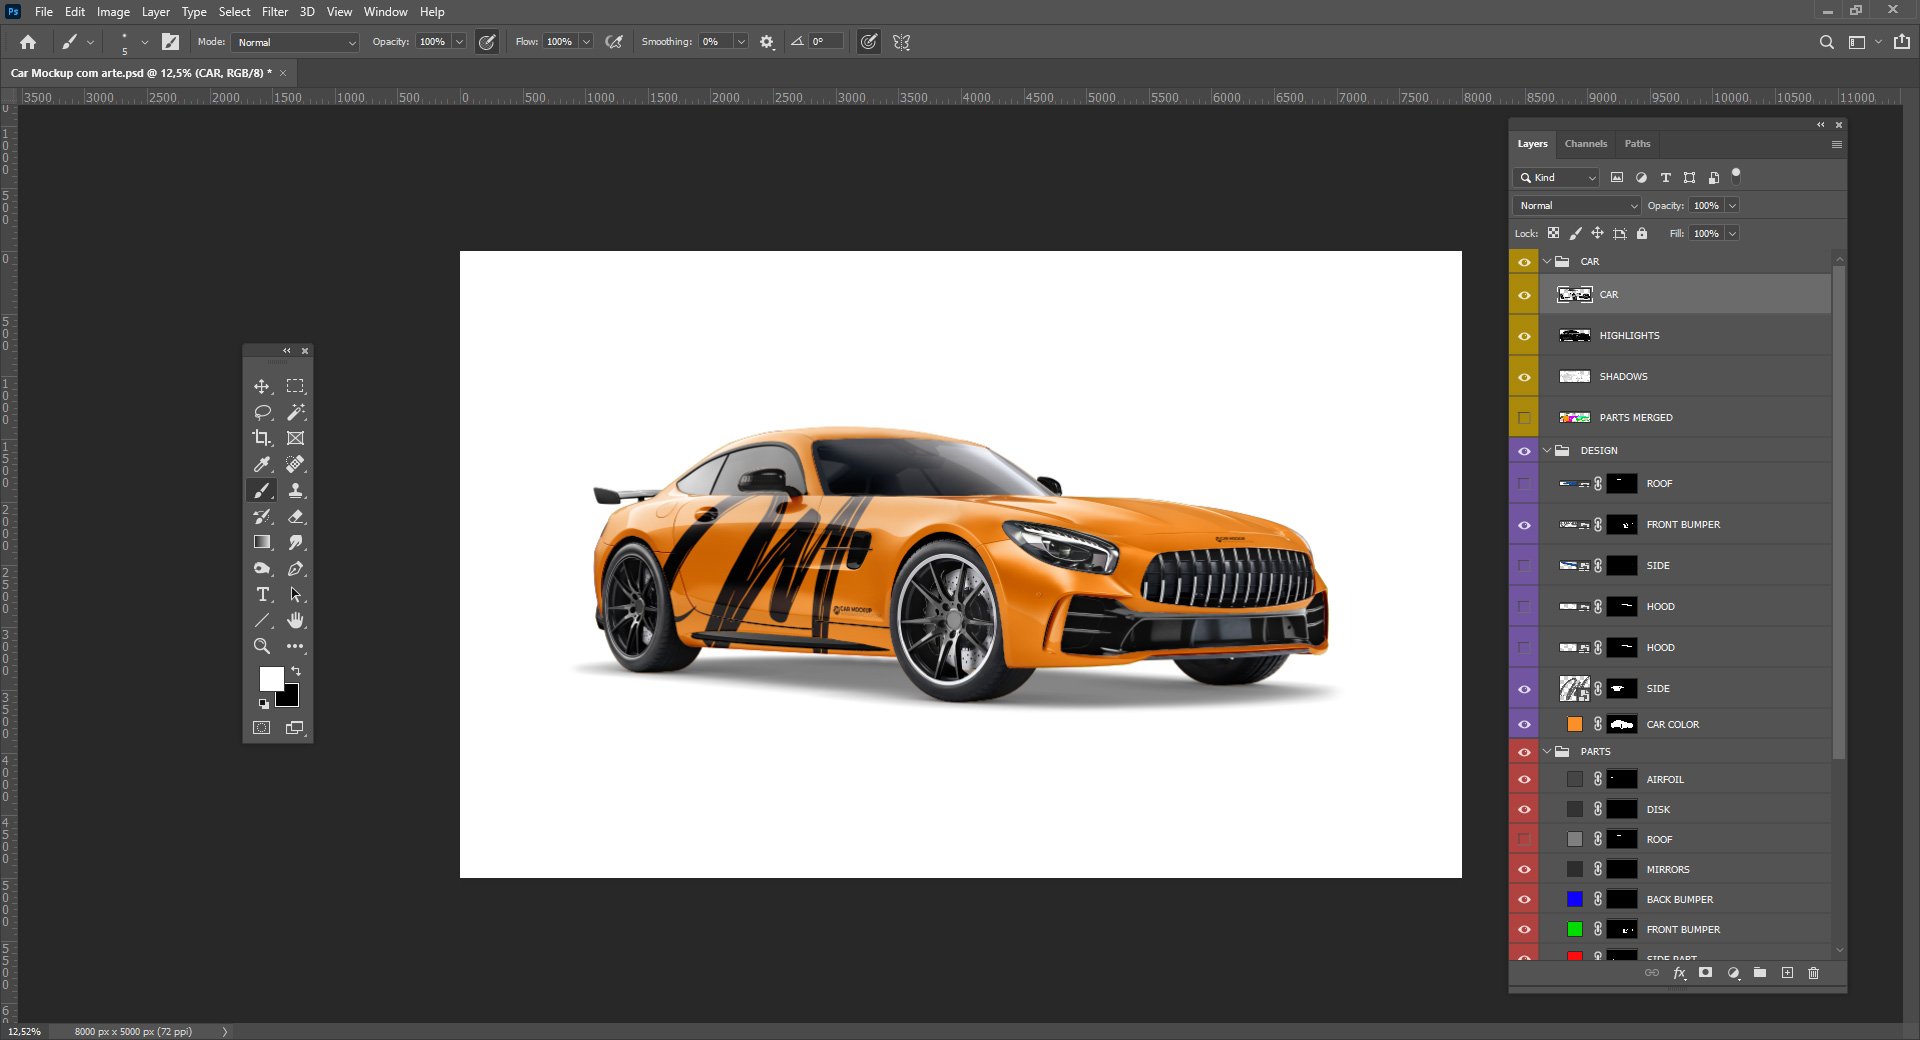
After rendering, the computer generates countless images to be assembled in Photoshop,
putting together the mockup and making it perfect for use.
The main post-production steps are:
Fixing imperfections
Adjusting the tones of the light and shadow layers
Creating smart objects for each editable part of the mockup
Separating and creating masks for each part of the mockup
Creating the object's shadow on the ground
As we can see, creating a mockup involves countless steps and processes before the prototype is perfect.